
Microcurrent results before and after are usually subtle at first: straight after one session, many people notice their face looks a little more toned and fresh, and with consistent use over several weeks the look of lift around the cheekbones, jaw and brows tends to become more noticeable and more consistent. The effects are temporary, so what you see long term depends on keeping up a regular routine.
Key takeaways
- Expect a fresh, toned look after a single session, then a gradual build with regular use.
- The first couple of weeks are mostly about learning technique and building the habit.
- After a month or so of consistent sessions, many people find the toned look more consistent.
- Results are temporary; a maintenance rhythm keeps them going.
- Track progress with your own photos, taken in the same light and pose each time.
What can you expect after your first microcurrent session?
Microcurrent passes a very gentle electrical current across the skin to help temporarily tone and tighten its look. After your first session, the most common observation is that the face looks a little brighter and more awake, with contours that appear slightly more defined, particularly on the side you have just worked on.
A useful trick on day one: treat one side of your face first, then look in the mirror before doing the other. The comparison helps you see what the device is doing for you, even when the change is subtle. If you are new to the idea, our complete UK guide to microcurrent facials at home covers the basics.
What happens in the first two weeks?
The first fortnight is mostly about technique. You are learning the movements, how much gel to use and how firmly to hold the probes. Expect your sessions to feel slow at first and quicker by the end of week two.
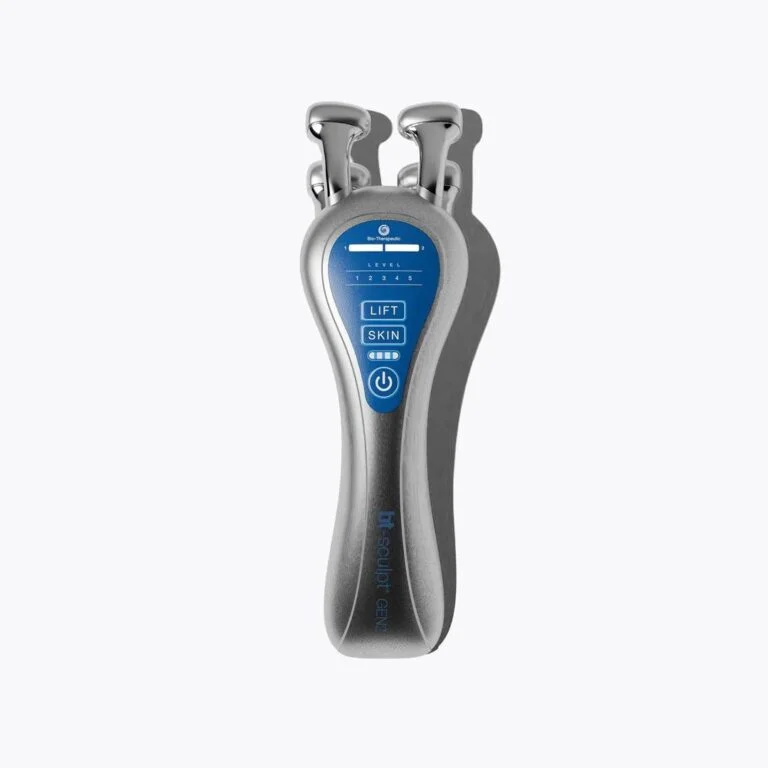
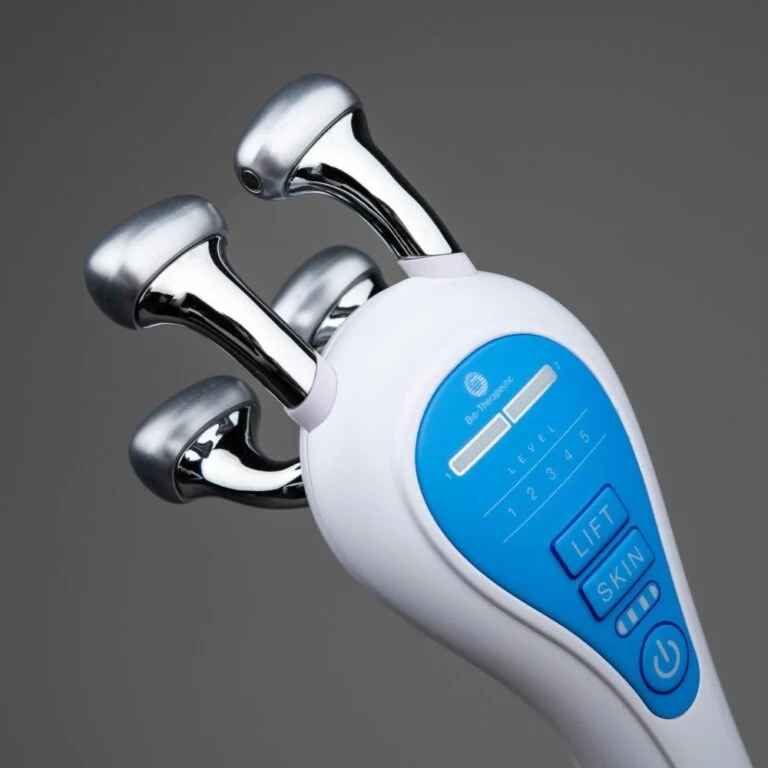
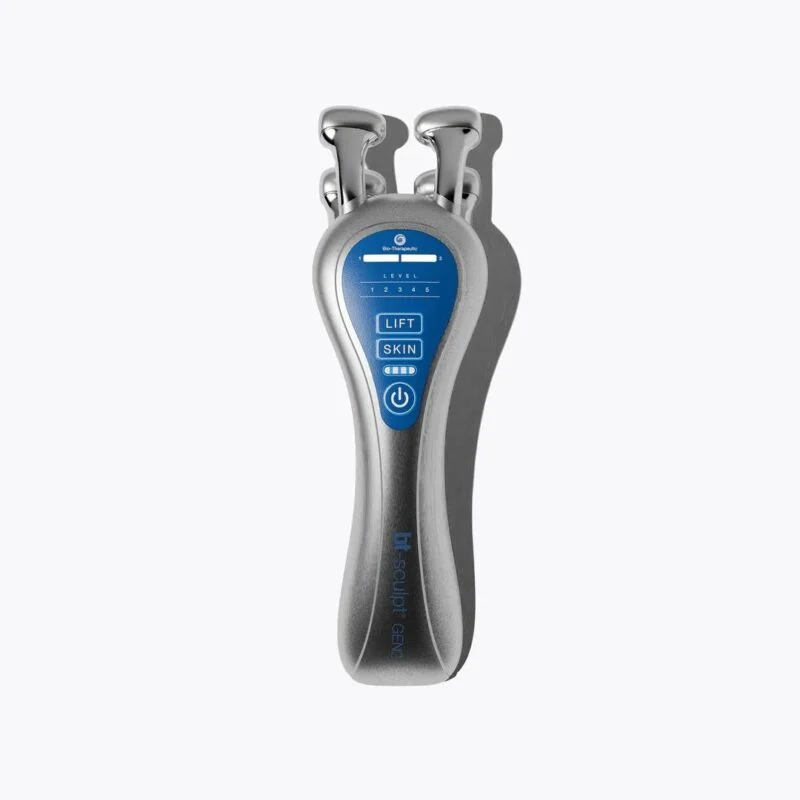
The bt-sculpt GEN2 Microcurrent Facial Sculpting System helps here: its self-tensioning K4iTEK probes adjust to the contours of your face, and an audible signal lets you know when you have proper skin contact. That feedback matters, because good contact is a big part of getting consistent results. Our step-by-step bt-sculpt GEN2 routine takes you through each area.
Most routines suggest more frequent sessions while you are getting started. Follow your device’s manual for how often and for how long.
What do microcurrent results look like after a month?
By around the four-week mark, people who have used their device regularly often notice that the toned look lasts better between sessions, and that their jawline and cheekbones appear a little more defined in photos. It is still a cosmetic, temporary effect, but it tends to feel more consistent.
This is also when skin preparation starts to show. Well-hydrated skin reflects light more evenly and looks plumper, which complements the toned look. A short serum and masque routine after your sessions makes a visible difference to how skin looks and feels.
Microcurrent results timeline at a glance
| Stage | What many people notice | What to focus on |
|---|---|---|
| After one session | Fresher, more awake look; contours appear slightly lifted | Generous gel, light movements, one-side comparison |
| Weeks 1–2 | Sessions get quicker; effect still fairly short-lived | Learning technique and building the habit |
| Around one month | Toned look feels more consistent between sessions | Regular sessions plus hydration |
| Three months and beyond | A steady, maintained look with less frequent sessions | Maintenance rhythm, as per the manual |
| If you stop | Skin gradually returns to how it looked before | Pick back up whenever you are ready |
What happens after three months and beyond?
Once you are comfortable with the technique and happy with how your face looks, most people move to a maintenance rhythm: fewer sessions a week, timed around how their skin responds and their own calendar. Many keep an extra session in reserve for the day before an event.
It is worth being clear about what does not happen. Microcurrent does not change the shape of your face for good, and the toned look fades gradually if you stop. Our article on microcurrent myths explains why you should be wary of claims that suggest otherwise.

How do you take honest before and after photos at home?
Photos are the most reliable way to judge your own progress, because day-to-day changes are hard to spot in the mirror. Keep them consistent:
- Same light. Stand facing the same window at a similar time of day. Avoid overhead bathroom lighting, which exaggerates shadows.
- Same pose. Hair back, neutral expression, chin level. Take a front view and both side profiles.
- Same distance. Prop your phone up at eye level rather than holding it.
- Bare skin. No makeup, and photograph before your session on the same day each week.
- Compare monthly. Look at week one next to week four, rather than day to day.
What helps you get better microcurrent results?
Prepare the skin properly
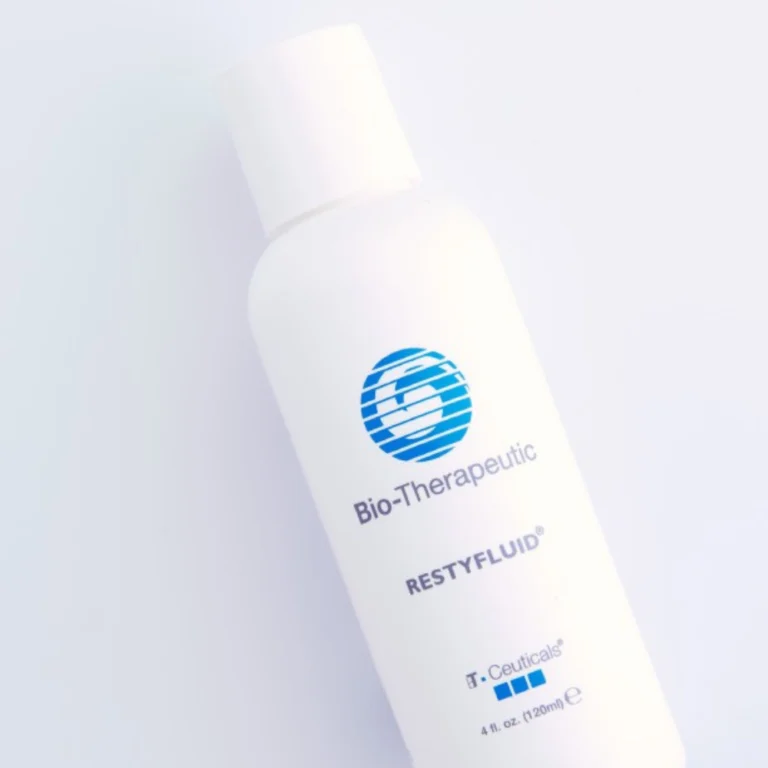
Start on clean skin, free of makeup, SPF and oils. Then apply a generous water-based conductive medium. Restyfluid works as a hydrating toner and conductive fluid in one. Our guide to conductive gel for microcurrent explains your options.
Follow with hydration and peptides
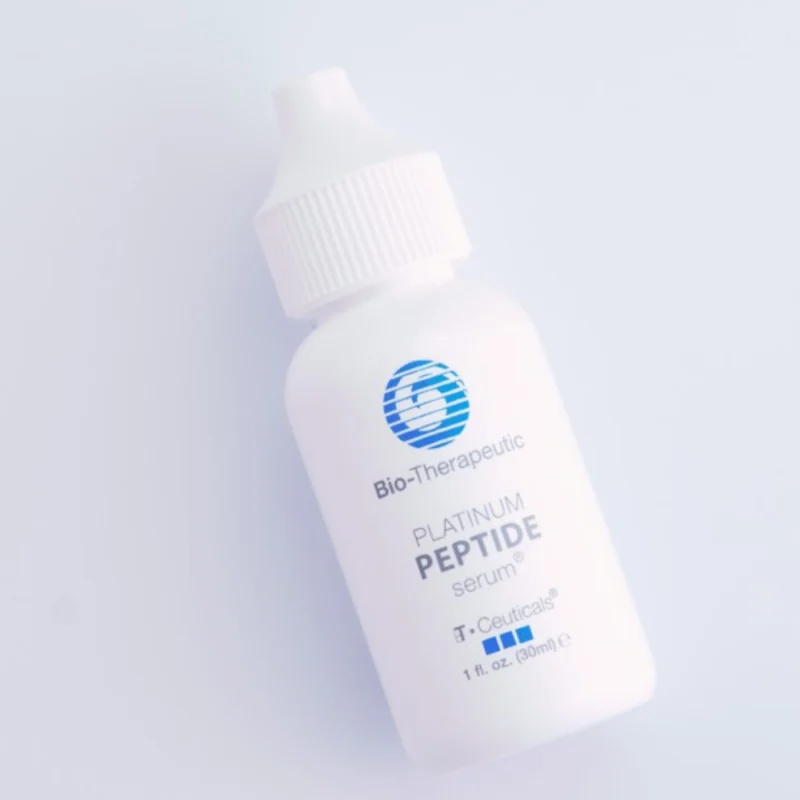
After your session, a peptide serum such as Platinum Peptide Serum helps skin feel smooth and supple. Once or twice a week, the Hyaluronic Collagen Resilience Masque can be used before or after a session for an extra hit of hydration. Seal it all in with Platinum Peptide Cream.
Protect what you are working on
Daily broad-spectrum SPF, such as Shade SPF 30 Climate Control, helps keep skin looking its best all year round in the UK.
Check you are a good candidate
Before you start, read our microcurrent safety checklist. If you are pregnant, have a pacemaker or implanted electronic device, epilepsy or cancer, or have had recent fillers or injectables, speak to your GP or practitioner first. You can explore the rest of the range on our Bio-Therapeutic page.
Related reading
- Microcurrent Myths: What It Can and Can’t Do for Your Face
- How to Use the bt-sculpt GEN2: Step-by-Step Routine
- Microcurrent Facials at Home: The Complete UK Guide
- The Pre-Event Microcurrent Routine: Lifted, Fresh Skin in 48 Hours
Frequently asked questions
Why can’t I see any microcurrent results?
The most common reasons are too little conductive gel, sessions that are too infrequent, or poor probe contact. Make sure your skin is free of oils and makeup, apply gel generously and top it up as you go. Compare photos taken a month apart rather than day to day, because gradual changes are easy to miss in the mirror.
How long does the lifted look last after one microcurrent session?
After a single session the toned, lifted look is temporary and typically fades over the following day or so, which is why many people like a session before an event. With regular use over several weeks, the effect tends to feel more consistent between sessions. If you stop altogether, your skin gradually returns to how it looked before.
Can microcurrent results look uneven?
They can if one side gets more attention than the other. Count your passes and keep movements identical on both sides, working in the same order each time. Following a set routine, such as the one in your device manual, is the easiest way to keep the toned look balanced across the face.
Should I use microcurrent before or after skincare?
Use microcurrent after cleansing and before your serums and moisturiser. Your skin should be clean and covered with a water-based conductive gel or fluid during the session. Once you have finished, remove any excess or press it in, then apply your usual serum, moisturiser and, in the morning, SPF.