
An at home facial step by step follows the same order as a professional treatment: double cleanse, exfoliate, tone the look of the face, apply a masque, then infuse serum and moisturise. With a few good products and, if you have them, a sonic brush, ultrasonic scrubber or microcurrent device, the full ritual takes about 45 minutes and leaves skin looking fresh, smooth and well cared for.
Key takeaways
- Follow the professional order: cleanse, exfoliate, treat, masque, infuse, moisturise.
- Every device step is optional; the ritual works with hands and good products alone.
- Exfoliate once per facial. Do not stack scrubs, acids and device exfoliation.
- Once a week or once a fortnight is plenty for a full home facial.
- Plan it for an evening, so skin can rest overnight.
What do you need for a professional home facial?
Gather everything before you start, so the ritual feels calm rather than rushed. You will need a headband, two soft cloths, a clean towel and these products, or your own equivalents.
| Step | Time | What you’ll use | Optional device |
|---|---|---|---|
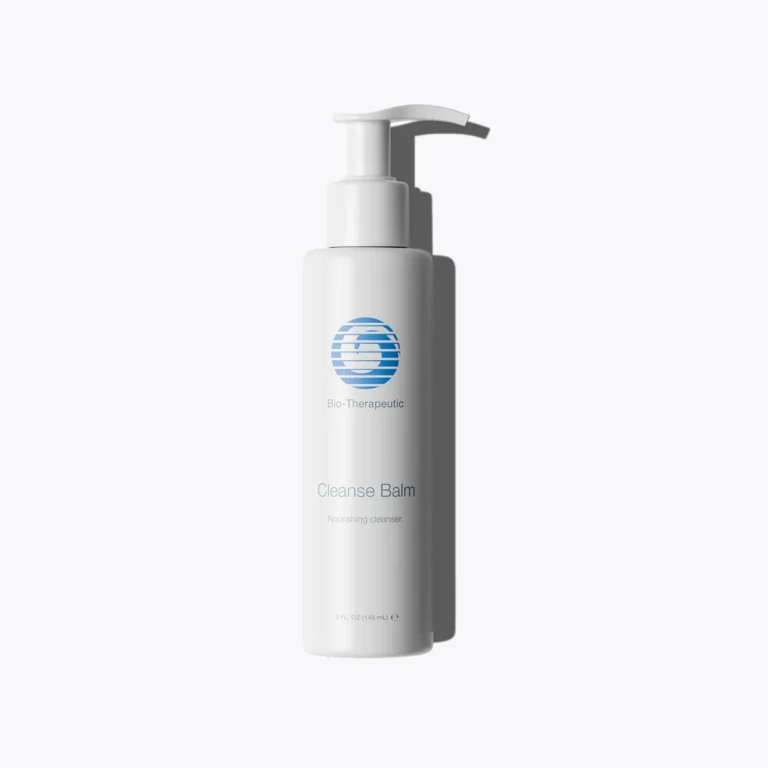
| 1. First cleanse | 5 min | Balm cleanser | None |
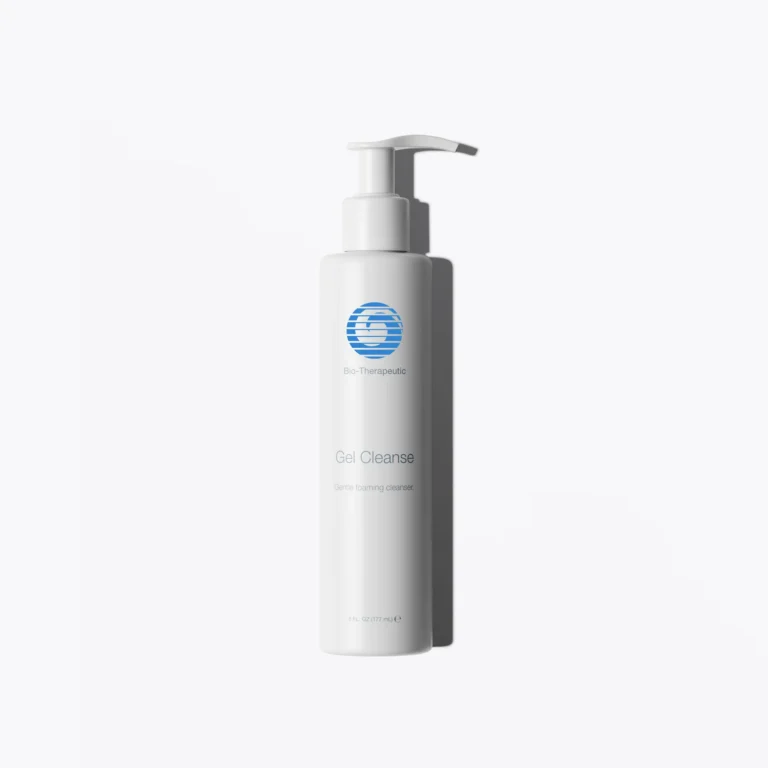
| 2. Second cleanse | 3 min | Gel cleanser | Sonic brush |
| 3. Exfoliate | 8 min | Enzyme exfoliant | None |
| 4. Tone and lift the look | 10 min | Conductive hydrating fluid | Microcurrent |
| 5. Masque | 15 min | Gel masque | None |
| 6. Infuse and moisturise | 4 min | Peptide serum and moisturiser | Ultrasonic scrubber (infusion mode) |
Step 1: How do you start an at-home facial?
Start with clean hands, hair tied back and a few minutes to settle. Dim the lights if you like; this is as much about taking time for yourself as it is about skin.
Massage Cleanse Balm over dry skin for a minute or two, using slow upward and outward strokes along the jaw, cheeks and forehead. This dissolves makeup, SPF and the day’s oil. Add a splash of water to emulsify, then press a warm, damp cloth over your face for a few seconds before wiping away.
Step 2: Should you use a cleansing brush in a home facial?
A sonic brush is ideal for the second cleanse, because it helps your cleanser work evenly into the areas around the nose and chin. Use Gel Cleanse on damp skin with the bt-sonic GEN2 on a low or medium setting, moving it in small circles for about a minute. Use the standard head, not the corundum head, since you will exfoliate next.
No brush? Massage the cleanser with your fingertips for 60 seconds instead. Our sonic facial cleansing brush guide explains settings and technique.
Step 3: How should you exfoliate during a home facial?
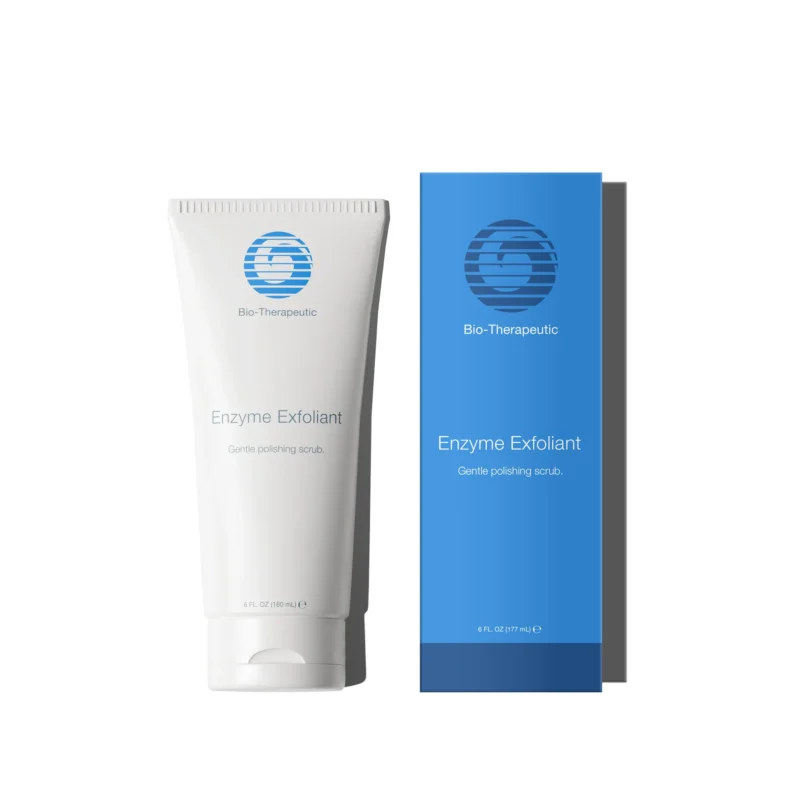
Choose one exfoliation method only. An enzyme exfoliant is a gentle choice for a facial, because enzymes help loosen dead surface cells without harsh scrubbing.
Apply Enzyme Exfoliant to damp skin, avoiding the eye area. It combines papain, papaya and pineapple extracts with gentle grains in a lipid-rich base. Massage very lightly, leave for a few minutes as directed, then rinse thoroughly with lukewarm water.
If you own an ultrasonic scrubber and prefer to use its exfoliation mode instead, skip the enzyme step. Our guide to using an ultrasonic skin scrubber at home explains its three modes. If your skin is sensitive or you use a retinoid, keep exfoliation especially light, or skip it.
Step 4: When does microcurrent go in a home facial?
Microcurrent comes after cleansing and exfoliating, on clean skin covered in a generous layer of water-based conductive fluid. Restyfluid, a hyaluronic and peptide fluid, works well here.
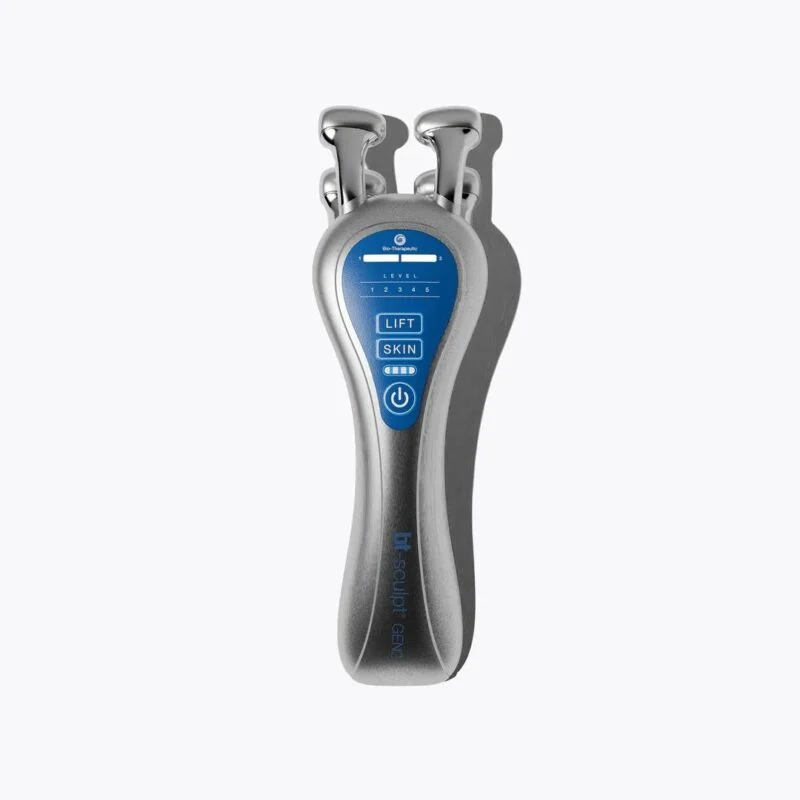
Use the bt-sculpt GEN2 following the movements in its manual, working one side at a time: jawline, cheeks, under the cheekbones, then brows and forehead. Its self-tensioning probes and audible contact signal help you keep consistent contact. The result is a temporarily more toned, lifted look. Our step-by-step bt-sculpt GEN2 routine covers each movement in detail.
Skip microcurrent if you are pregnant, have a pacemaker or implanted electronic device, epilepsy or cancer, or have had recent fillers, injectables or facial surgery, unless your GP or practitioner has said it is suitable. Read who shouldn’t use microcurrent for the full checklist.

Step 5: Which masque should you use in a home facial?
The masque is the moment to lie back and relax. A gel masque holds hydrating ingredients against the skin and feels cooling and comfortable.
The Hyaluronic Collagen Resilience Masque combines hyaluronic and lactic acids, elastin, three peptides, niacinamide and botanical extracts in a gel format. Apply it over a thin layer of serum and leave it on for the time stated on the pack. Many people use this time to rest with their eyes closed, or to lie on an acupressure mat.
To choose between sheet, biocellulose and gel formats, read our guide to sheet masks, biocellulose or gel masques.
Step 6: How do you finish a home facial?
- Remove the masque and gently press any remaining essence into your skin.
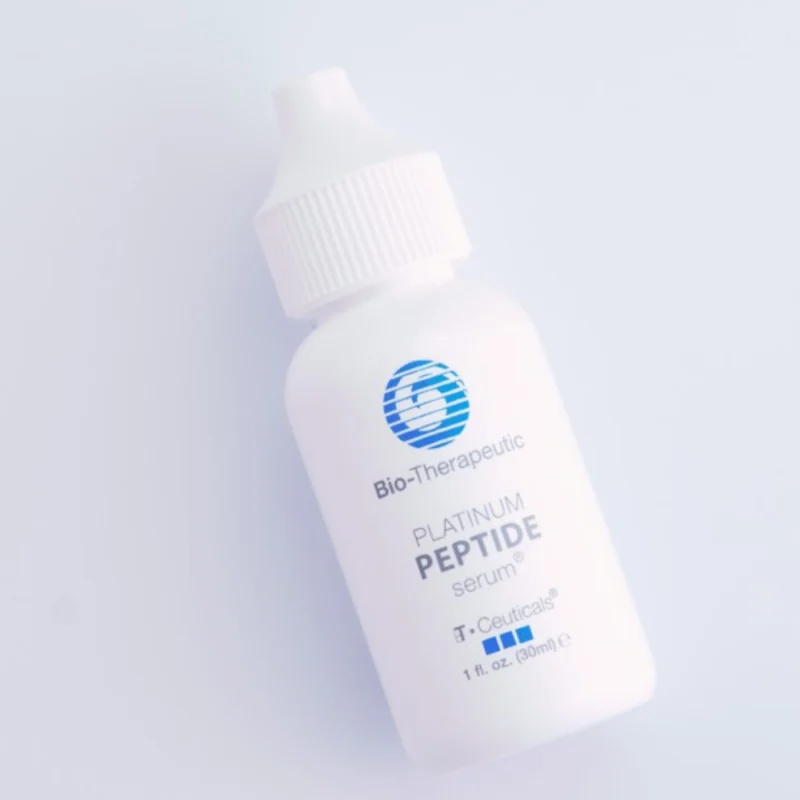
- Apply a peptide serum. Platinum Peptide Serum combines peptides, sodium hyaluronate and antioxidants.
- If you have an ultrasonic scrubber, use the bt-micro fusion in infusion mode to press the serum into the skin with slow upward strokes.
- Seal it all in with your usual moisturiser and a gentle eye cream.
- Skip active treatments, such as retinoids or acids, for the rest of the evening.
How often should you do a home facial?
Once a week or once every two weeks is plenty for a full facial with exfoliation. Between facials, keep up your usual morning and evening routine, and use individual steps, such as a masque or a short microcurrent session, whenever you like.
Evenings are best, since skin can rest overnight and you will not need makeup straight afterwards. Pair it with your wind-down: our 30-minute evening wind-down combines skincare with time on a Bed of Nails acupressure mat, which many people find helps them relax. Explore every product above in our Bio-Therapeutic collection.
Related reading
- How to Use the bt-sculpt GEN2: Step-by-Step Routine
- How to Use an Ultrasonic Skin Scrubber at Home (3 Modes Explained)
- Sheet Masks, Biocellulose or Gel Masques: Which Should You Choose?
- The 30-Minute Evening Wind-Down: Skincare Plus Acupressure
Frequently asked questions
Can I do a home facial without any devices?
Yes. Every device step is optional. Cleanse twice with your fingertips, use a gentle exfoliant, then spend a few minutes on facial massage with upward strokes before applying a hydrating masque, serum and moisturiser. Devices add extra benefits, such as a more thorough cleanse or a temporarily more toned look, but the core ritual works without them.
Should I steam my face during a home facial?
Steam is optional, and not everyone needs it. A warm, damp cloth pressed over the face after cleansing gives a similar comfortable, softening feel with less risk of overheating the skin. If your skin is sensitive, flushes easily or feels dry, skip steam altogether and keep water lukewarm throughout your facial.
Can I wear makeup after a home facial?
It is best to wait. Plan your facial for the evening so skin has the night to settle, especially after exfoliation. If you need to go out afterwards, keep exfoliation very gentle, finish with a light moisturiser, and wear SPF during daylight hours. Clean makeup brushes help keep that fresh-from-a-facial feeling.
Can I do a home facial before an event?
Yes, but do it two or three days beforehand if you are exfoliating, so any temporary redness has time to settle. The day before or on the day itself, stick to gentle steps such as a hydrating masque and a short microcurrent session, which many people use for a fresh, temporarily lifted look.